
The final film was built up gradually in several stages. The poster opening was added first, followed by the individual cloud animations. The sequence showing Mo's descent into the ocean was made separately and the ship was added in the final composition, and Cranky was also animated separately. This helped to simplify the final composition, although at its final stage it still consisted of 30 files and 70 layers, including lights, mask layers and duplicate files. This made the final project very complicated, but also made it easier to control the interaction between the elements. This also means that it will be possible to make small alterations if necessary.
A Breakdown of the Final Film
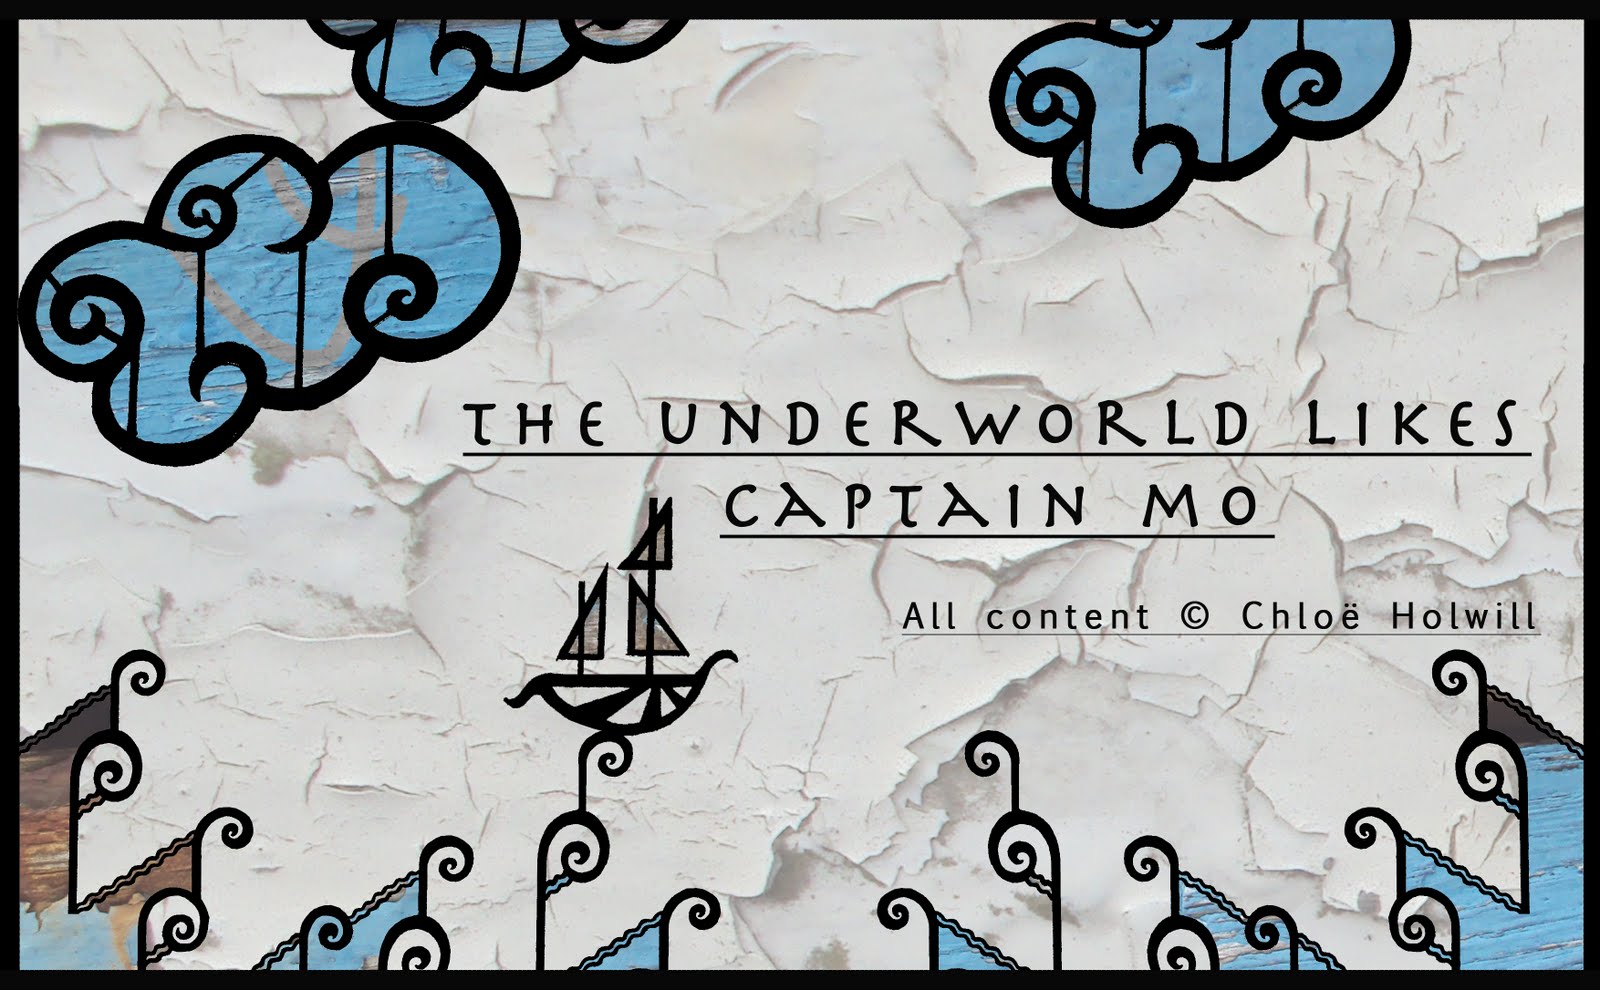
To start, the sequence opens with the poster animation shown in a previous blog entry. The background was taken from a photograph of a weatherworn painted door at Cove beach.

I animated this image scrolling up as the poster moves down, and then rotated it clockwise into position for Captain Mo setting sail. I used another image of stripped blue paint and used Photoshop to remove the harsh edge, and overlapped several of the images together to create a longer background to scroll along.

The sea scape was made up of 3 wave sequences, animated in the same way as described in a previous post (Wednesday 14th July). Here is a clip from the sequence used during Cranky's appearance:
For Cranky's appearance, I used an extra layer of waves to disguise his entrance. I also animated the lure in several layers, and added an extra spotlight for the lantern. I added a cannon from Mo's ship to destroy the lure, and used an extra light to create the flash of the cannon being fired. For hooking Mo's ship down into the deep, I used a mask on the top layer of Cranky revealing only his tail. When the tail releases Mo, I animated it drifting into the pile of detritus to the left and feathered the edge of the mask to create a less severe contrast with the background.

For the whole of the sequence, I had to use an ambient light in order for the whole frame to be illuminated as well as showing the spotlights being used. If the ambient light wasn't there, the spotlight would illuminate only the point it is focused on, leaving the rest of the screen in darkness.
I used the spotlight effect again for the credits, but this time I employed no other lighting in order to make use of the darkness and the focused beam of light. I inserted text layers and timed them to disappear in the darkness, allowing me to reveal the text boxes as the light passes over them.
The end credits are super cute, especially the finish on Cranky, although it seems to be a different style from the rest of the film. Is that intentional? Or am I just facing the restrictions of watching it on the small screen?
ReplyDeleteIt's interesting to know the elements you used and why. I was particularly curious about your choice of using the door.