
This film was again created using the basics I have been learning in Adobe After Effects. This time, I experimented in using the text tools, parent layers and altering anchor points.
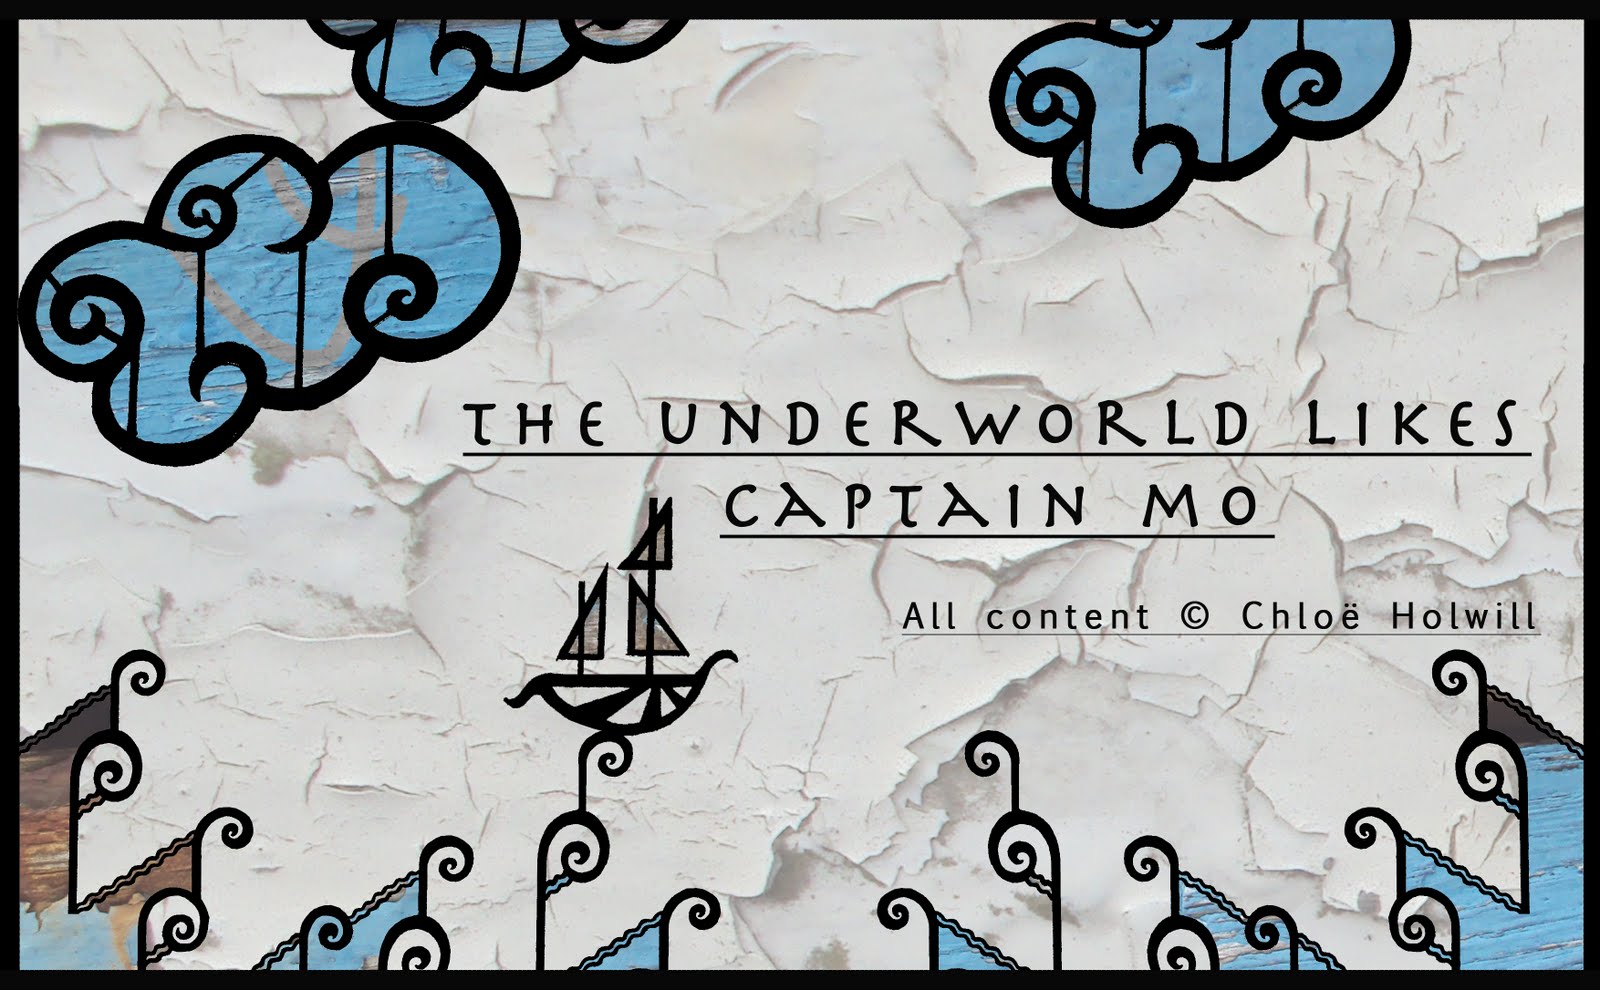
I decided to animate the poster-like image I drew in the second semester, so I could select simple elements to manipulate. I used Photoshop to extract the waves, clouds, ship, monster head and monster jaw from the design, and saved each of these as single files with transparent backgrounds. I also erased the text from the design so that I could animate it instead. I saved the design with all of these empty spaces, ready for the elements to be re-inserted, and selected a textured background to use from a photograph I took of a weatherworn boat.
I used the original design, with the empty gaps, as a 'parent layer.' This enabled me to attach the other elements to it, meaning they would animate in the same manner. As the parent layer travels up, so do the other layers attached to it. This also means that the 'child' layers can be animated independently, for example - the clouds travel up with the design, but can also travel left on their own path. Finally, I added the ship, and altered its anchor point to attach it to the crest of a wave. I could then rotate the ship, giving it a bobbing motion on the waves.
Although these are still very basic animation techniques, I am beginning to better understand the concepts and can start adapting and developing them towards the final sequence I intend to create.
No comments:
Post a Comment